

Did you know? According to industry statistics, over 60% of bathroom renovations go over budget due to unforeseen issues. This bathroom renovation guide is designed to help you avoid the most common pitfalls and achieve a smooth, beautiful transformation—providing clarity on what really happens, step by step. If you’ve ever wondered what a modern bathroom remodel looks like from start to finish, you’re in the right place.
A Surprising Look at Bathroom Renovation: Did You Know?
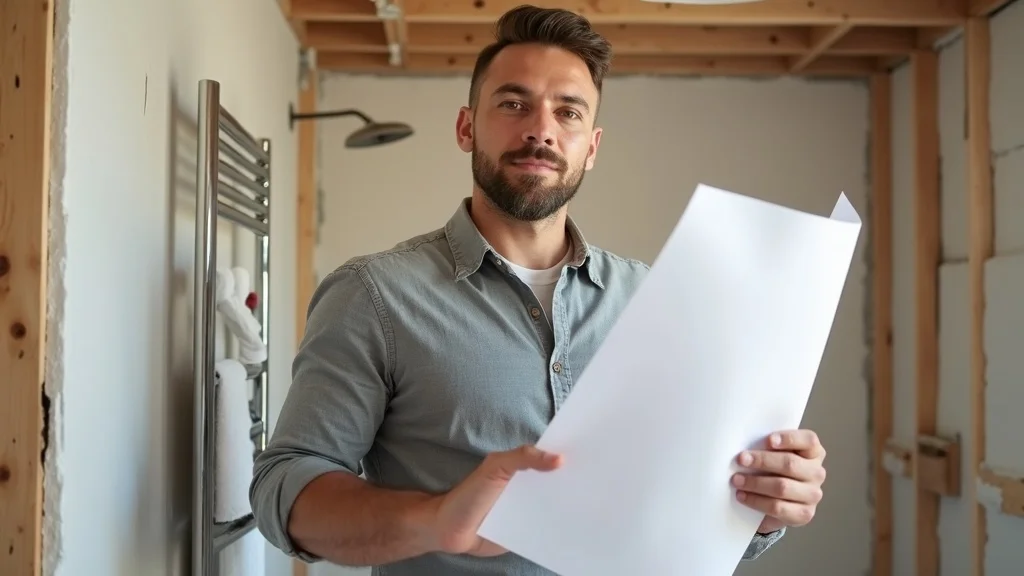
In the world of bathroom renovation, surprises are more frequent than most homeowners expect. The process often reveals issues hidden behind walls and beneath old tiles—anything from water damage to outdated plumbing and even electrical hazards. Bathroom renos don’t just involve new tiles and fixtures; they require meticulous planning, the right team, and a fluent understanding of building regulations. With the average homeowner underestimating both the budget and time, having a clear bathroom renovation guide is essential for success. What you may not expect is how complex, creative, and rewarding the journey can be, especially when transforming an old bathroom into a modern retreat.
According to industry statistics, more than 60% of bathroom renovations go over budget due to unforeseen issues. Understanding each step closely helps avoid surprises.
What You'll Learn from This Bathroom Renovation Guide
The step-by-step bathroom renovation process
How to design your ideal bathroom suite
What to expect with old bathroom removal and plumbing changes
Cost-saving tips and building regulations essentials
How to choose quality fixtures and fittings
Table: Bathroom Renovation Step-by-Step Timeline
Step |
Description |
Estimated Duration |
|---|---|---|
Planning & Design |
Setting project goals, budget, and style |
1-2 weeks |
Removal of Old Bathroom |
Demolition and disposal |
1-3 days |
Plumbing & Pipework |
Adjustments for new layout |
2-5 days |
Wall & Floor Prep |
Fixing surfaces, waterproofing |
1-3 days |
Tiling & Installation |
Laying tiles, installing suite |
3-7 days |
Final Checks |
Inspections and finishing touches |
1 day |
Bathroom Renovation Planning & Design Essentials
Key Considerations for Bathroom Reno Success
Evaluating bathroom design options
Setting your renovation budget
Reviewing room ideas and layout possibilities

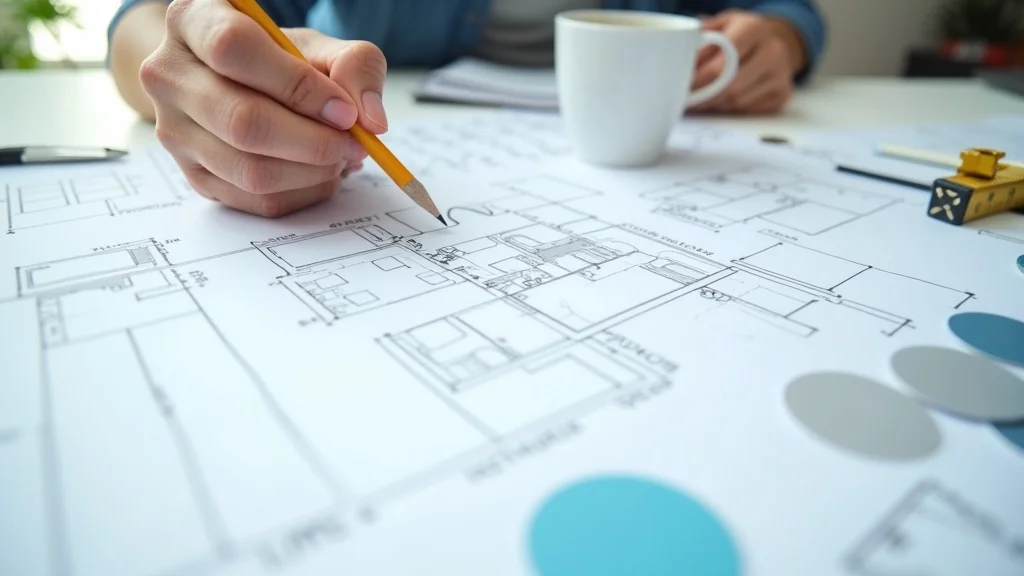
Every successful bathroom renovation starts with strategic planning and design. Begin by researching the latest room ideas and bathroom design trends to determine what appeals to you. Think about how the space is used: do you need a walk-in shower enclosure, a luxurious new bath, or a clever vanity unit for more storage? As you review design inspirations, factor in natural light, privacy, the size of the room, and traffic flow. After exploring options, set a flexible renovation budget accommodating the key elements and potential unexpected costs. Layout possibilities should follow not just your dreams, but practical constraints—think about the existing water supply, drainage, and electrical work that may need updating for compliance.
In this stage, involve professionals where possible—including designers, architects, or experienced contractors. They can help clarify if your bathroom suite vision is practical for your space, ensuring the new layout aligns with building regulations and structural limitations. Early planning avoids headaches later, especially if relocating plumbing, changing wall tiles, or using heavy natural stone features. Exploring your choices at this stage—style, function, and essential fixtures and fittings—sets the scene for a bathroom reno that meets both aesthetic and day-to-day needs.
How to Choose Your Bathroom Suite and Vanity Unit
Selecting the best vanity unit for your space
Matching fixtures and fittings for style and function
Choosing your bathroom suite and vanity unit requires balancing looks and practicality. The right suite gives consistency in style, making the room feel polished and cohesive. Start by measuring your space carefully and assessing placement options for the vanity unit, toilet, bath, and shower. A wall-mounted vanity can make small bathrooms feel bigger and enhance natural light flow, while a classic ceramic top fits homes seeking timeless appeal. When picking fixtures and fittings, ensure taps, handles, and even the shower head match the finishes—to create a harmonious interior design.
Think about storage needs: do you require deep drawers or slim cabinets? The best option for many is a vanity that pairs with your chosen basin and allows easy access to plumbing for future maintenance. If family or guests will use the bathroom, dual sinks or extra shelving may be helpful. Finally, ensure your selections align with both personal style and long-term function, so your new bathroom remains a joy for years. Popular choices for 2024 include minimalist matte black taps, LED-lit mirrors, and walk-in glass shower enclosures.
Important Building Regulations for Bathroom Renovation
Permits and approvals
Waterproofing and electrical codes
Complying with building regulations is one of the most vital, and often overlooked, steps in any bathroom renovation guide. Structural changes, new plumbing, electrical work, or changes to layouts typically require approval, and failure to secure permits can result in expensive remediation after the fact. Your local authority will set requirements for ventilation, safe electrical wiring (especially near wet areas), and minimum waterproofing standards for walls and floors. Check whether you’ll need a building notice, and always use qualified tradespeople for mechanical or electrical installations.
For waterproofing, install an approved barrier behind all wall tiles and under floor tiles in wet zones—this avoids leaks and long-term damage. Plumbing codes dictate correct alignment of hot/cold water and drainage. Not following regulations can cause safety issues and may mean your new bathroom doesn’t meet insurance requirements. Hiring professionals who understand UK regulations ensures peace of mind and protects your investment. If unsure, consult with your bathroom renovator or a certified building control specialist from the project’s outset.
"Before starting your bathroom remodel, always check local building regulations to avoid costly compliance issues." -- Industry Expert
Removing the Old Bathroom: What to Expect
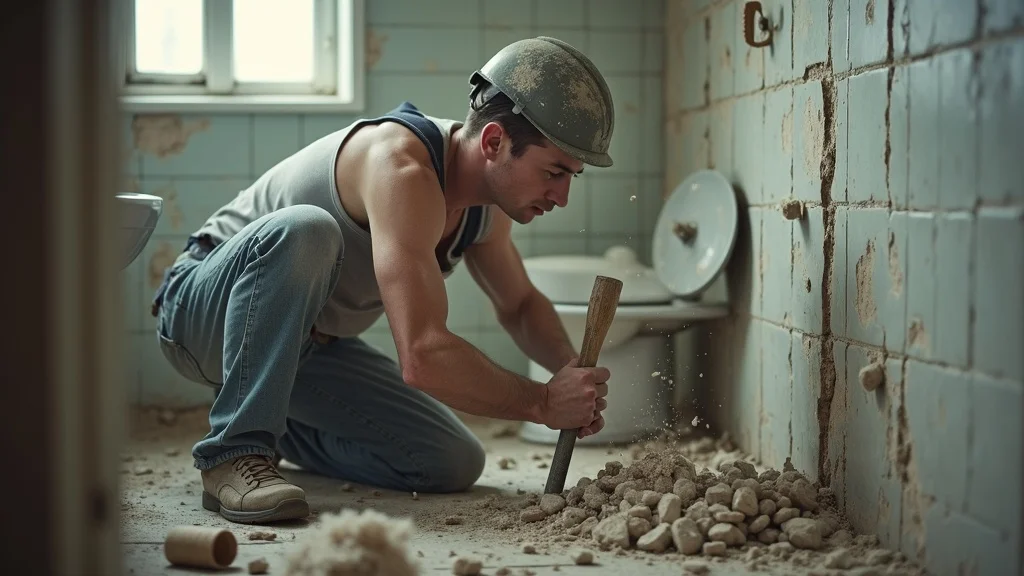
The first real step in a bathroom renovation is the removal of your old bathroom. This stage is equal parts thrilling and challenging, as it uncovers the true condition of the subfloor and walls behind the scenes. Most contractors begin by isolating water and power supplies to ensure safety. Demolition then involves careful removal of old tiles, sanitaryware, and the vanity unit. Responsible disposal is just as crucial: tiles, fixtures, and fittings must be sorted and taken to approved waste centres, especially for materials like plasterboard or asbestos which require specialist handling.
A thorough strip-out allows the renovators to inspect for water damage, mould, structural rot, or outdated plumbing. Sometimes, this process reveals costly surprises, prompting repairs to timber joists, replacement of wall tile backers, or updates to grounded electrical wires. If your home is older, expect some delays here, as unexpected issues often arise. Good project managers factor in extra time for contingencies so that your bathroom reno doesn’t fall behind schedule.
Safe and Efficient Demolition in Bathroom Reno
Disconnecting plumbing and electrics
Disposing of the old bathroom responsibly
Safe bathroom demolition begins by switching off the main water supply and electricity. Professionals disconnect all fittings—shower, vanity unit, toilet, bath—before removing any wall tiles or fixtures. Flooring, especially heavy old tiles or natural stone, is often broken up for easier disposal. Throughout, safety is paramount: workers should wear protective gear, prevent dust spread, and carefully handle sharp ceramic shards or exposed nails. The best bathroom renovators also clear the space rapidly to allow a quick start on repairs or upgrades. All waste materials, including the old bathroom suite and tiling debris, must go to certified recycling or landfill sites.
If you’re undertaking the project yourself, double-check which elements you can safely remove (such as old shelves or fittings), and which require a skilled professional (like electrical circuits or mains plumbing). This prevents accidental damage or breaching regulations. Ultimately, thorough and responsible strip-out is the foundation for a safe and successful bathroom remodel.
Inspecting for Subfloor or Wall Damage
Identifying structural repairs
Preparing for bathroom suite installation
After demolition, inspection of subfloor, joists, and wall cavities is crucial. Any signs of rot, old leaks, mould, or pest damage must be fully resolved before moving on. Addressing these now avoids costly structural repairs in the future. Damaged timber is replaced, new waterproof membrane or cement board is installed where needed, and surface irregularities are addressed. Even minor unevenness or cracks can affect new tiling and the fit of the vanity unit or shower enclosure.
If repairs are required, factor in delays for drying (for timber or surface treatments). The aim is always to create a level, sturdy platform for installing your new bathroom suite, floor tiles, and fixtures. A meticulous approach now prevents movement and leaks later—ensuring the satisfaction of your new bathroom lasts long term.
Adjusting Plumbing and Pipework for Your New Bathroom Reno
Relocating or Upgrading Plumbing Fixtures
Ensuring compatibility with new bathroom suite
Working with qualified m c (mechanical contractors)
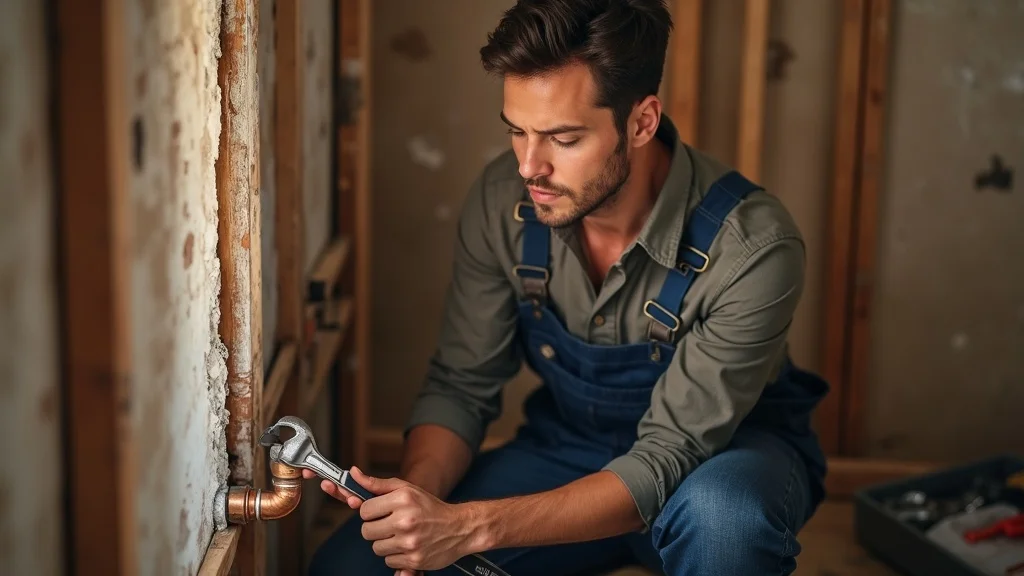
One of the most technically challenging stages in any bathroom renovation guide is upgrading or relocating plumbing. If your new design puts the shower enclosure, vanity unit, or bath tub in a new place, then pipework will need redirecting. Outdated pipes or poor grading might also need replacement. Qualified m c (mechanical contractors) will reroute supply and waste pipes to align exactly with the new fixtures and fittings, and install isolation valves so future maintenance is easy. Materials like modern copper or plastic piping are often chosen for longevity and corrosion resistance.
To ensure everything works perfectly, plan fixture locations before any pipe is moved—it’s expensive to adjust layouts once new wall tile or underfloor heating is in place. Top tips: use only skilled professionals, confirm hot/cold supply is clearly marked, and test all new joints for leaks before the next phase of your bathroom reno. This is especially vital if integrating features like rainfall shower heads, wet rooms, or freestanding baths.
Plumbing Compliance with Building Regulations
Pipework adjustments for fixtures and fittings
Hot/cold water and drainage alignment
All new plumbing must adhere to UK building regulations. This covers correct sizing for pipes, airtight connections to stop leaks, and safe ventilation for waste outflows and soil stacks. Proper pipe gradients are needed for drainage efficiency, and insulate hot water lines to avoid heat loss. If your bathroom remodel is in a flat or upper storey, ensure joists can support any new bath or tile weight, and check all seals before closing walls or floors.
Before closing up walls, many renovators photograph pipe placements—allowing future reference if issues arise. When working with specialist fixtures, like wall-hung toilets or integrated spa showers, extra care is essential in installation to stay compliant and avoid hidden leaks. From isolating mains water to final pressure testing, reliable installation gives you confidence that the beautiful finishes will be as durable as they are attractive.
"Precise pipe placement is critical—errors can lead to costly rework later in bathroom renovations."
Preparing Walls and Floors for Your Bathroom Remodel
Waterproofing and Surface Preparation in Bathroom Renovation
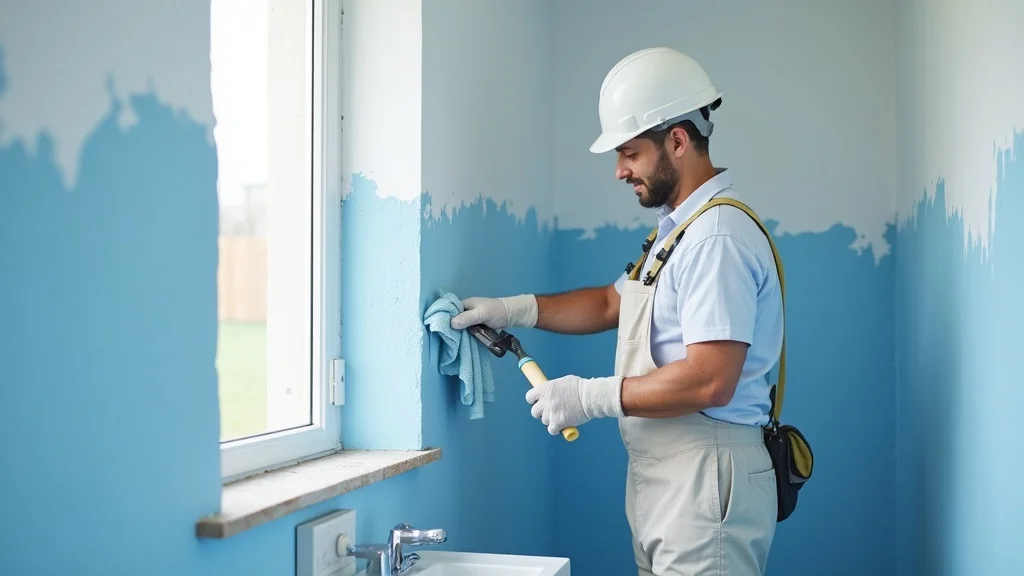
Ensuring foundation for tiling
Using correct wall tile backing and floor tiles underlay
Before installing any tile or flooring, it’s essential to prepare wall and floor surfaces meticulously. Apply specialist waterproof membranes to all wet areas—behind the bath, around the shower enclosure, and beneath the floor tiles. Cement boards provide a stable, rot-proof backing for wall tiles, while a thick underlay or insulation matting helps level floors and reduce cold underfoot.
Getting surface prep right is non-negotiable in bathroom renovations. Professionals use moisture-resistant materials, overlap membranes at corners, and check all substrate is smooth and dry before installing anything new. Laying a strong, flat base helps tiles adhere more securely, reduces future cracking, and keeps the new bathroom leak-free. Not only does this add years of trouble-free use, it also keeps your investment safe for the long term.
Levelling and Repairing Substrate
Fixing cracks, holes, or uneven surfaces
Best practices for old bathroom conversion
Whether you’re converting an old bathroom or working on a modern extension, walls and floors must be level, stable, and free from defects. Fill all cracks and holes in plasterboard or blockwork with high-quality fillers. Use levelling compounds on uneven concrete or timber floors. The goal is a substrate so smooth that wall tiles and floor tiles can be set flat, ensuring a visually even finish and robust, lasting results.
In best-practice bathroom renovations, tolerance for error is minimal—bumpy walls or sloping floors make tiling harder, reduce waterproofing effectiveness, and may shorten the life of expensive finishes. Patience at this stage pays off: a flat, clean, and prepared base is the best way to avoid surprises in the finished room. Check every surface with a spirit level before moving on.
Tiling and Installation: Bringing Your Bathroom Reno Vision to Life
Choosing the Right Wall Tile and Floor Tiles
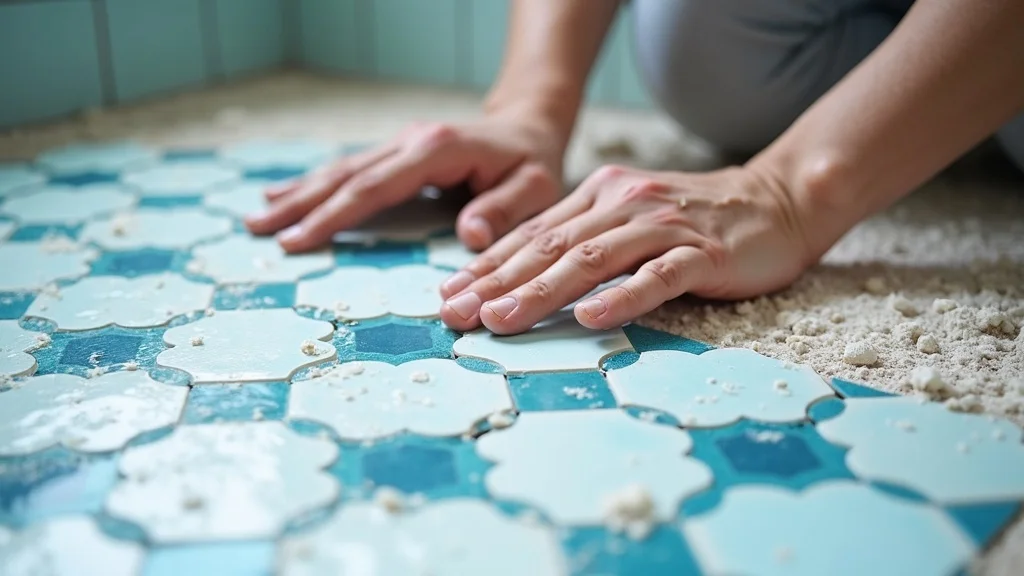
Popular tile materials and room ideas
How to layout tiles for maximum visual impact
The crowning phase of any bathroom renovation guide is laying new wall and floor tiles. Materials abound—from classic ceramic and porcelain (the most popular choice for durability), to modern vinyl, or premium natural stone like marble or slate. For 2024, geometric patterns, bold accent walls, and large-format tiles are trending in many room ideas. In small bathrooms, glossy metro tiles can help bounce natural light and make spaces feel bigger.
Tile laying is an art: professional installers start with careful measurements, set a level first row, and use spacers for consistency. Experiment with layout—herringbone, stacked, or diagonal patterns—for subtle flair. Focus design attention on feature areas, such as a mosaic behind the vanity unit or floors in the shower enclosure. Use suitable grout and waterproof seals, especially around joints, to protect against leaks and mould.
Video Tutorial: Step-by-step tiling for bathroom renovation guide.
Installing Your Fixtures and Fittings

Fitting the vanity unit, taps, and toilet
Installing bathtubs, showers, and m c accessories
With tilework complete, it’s time to fit the fixtures and fittings that complete your new bathroom suite. Begin with major elements—the vanity unit, toilet, bath or shower enclosure—securing them in place and connecting all plumbing and waste lines. Use a qualified plumber or m c if your suite includes advanced features like a wall-hung toilet or multi-jet shower head.
Taps, mirrors, shelves, and accessories go in last, adding the final touches to bathroom suites. Pay attention to manufacturer guidelines and building regulations—especially for items needing exact heights or specific waterproof seals. Aim for clean lines, tight fittings, and safe electrical work to finish off your dream bathroom. Test every fitting before final checks for peace of mind and immediate use after project handover.
Bathroom Renovation Final Checks and Snagging
Inspecting Your New Bathroom Suite

Ensuring fixtures and fittings operate correctly
Checking waterproofing and sealing
Before signing off on your bathroom renovation, carry out a thorough inspection. Run all taps and the shower head to check for leaks, make sure drains flow freely, and confirm that toilets and baths fill and empty as expected. Test all lighting, extractor fans, and electrical sockets, ensuring they function correctly and safely. Inspect seals around the bath, shower enclosure, and vanity unit for any missed gaps.
Quality assurance now means fewer headaches in the future. Professional renovators will offer a snagging checklist covering all fixtures and fittings, finishes, and system checks, and make minor fixes before handing over keys. Take photos, keep documentation, and ask questions before signing completion paperwork.
Deep Cleaning and Presentation

Best cleaning practices post-renovation
Preparing for the final handover
Once everything is installed, clean the bathroom meticulously before final handover. Wipe all surfaces, polish taps, sweep grout dust from floor tiles, and remove residue from mirror glass and sanitaryware. Use soft microfibre cloths and non-abrasive cleaners to avoid scratching new finishes. Pay special attention to corners, tile joints, and hard-to-reach spots.
Final cleaning not only makes your bathroom sparkle, but showcases the investment and attention to detail that has gone into the renovation. It is the last step before enjoying your upgraded space—and one that makes a lasting impression on both owner and guests.
Video Tutorial: Common mistakes to avoid during bathroom renovation final checks.
Why Following a Bathroom Renovation Guide Matters
Minimises unexpected issues during the bathroom remodel
Helps you stay compliant with building regulations
Increases satisfaction with your bathroom reno investment
A well-structured bathroom renovation guide helps navigate challenges, keeps projects on-track, and prevents costly oversights. By understanding each stage—from stripping out the old bathroom through to final presentation—you avoid major issues and ensure the results match your expectations. Following clear steps also means you’re less likely to forget permits, misjudge budgets, or overlook waterproofing and compliance needs.
Taking time up front saves money and stress down the line, increases value, and gives you the stylish and functional new bathroom you dreamed of. Whether you go DIY or hire professionals, guidance through every step means nothing gets missed, delays and snags are minimised, and you’ll love your bathroom for years to come.
"A well-structured guide not only saves you money, but also delivers the bathroom upgrade you truly wanted."
Bathroom Renovation Guide: Essential Frequently Asked Questions (FAQs)
How long does a standard bathroom renovation take?
A typical bathroom renovation takes 2–3 weeks depending on scope, materials chosen, and any issues encountered. Major complications such as hidden water damage, out-of-stock fixtures, or delayed permits may extend the schedule. Planning ahead and working with reliable contractors is the best way to stay on track.What are common hidden costs when renovating a bathroom?
Unforeseen repairs following demolition, such as subfloor rot, outdated wiring, or leaking pipes, commonly drive up costs. Other hidden expenses may include disposal fees for old bathroom waste, correcting previous DIY mistakes, or upgrading water supply for modern showers or baths. Build a contingency budget of 10–20% to be safe.Can I do a bathroom renovation myself, or should I hire professionals?
DIY is possible for skilled homeowners, especially with standard tiling, painting, or fittings. However, qualified professionals are always required for plumbing, electrical work, and structural changes to guarantee compliance with UK building regulations and safety standards. For best results, professional guidance throughout is recommended.What are trending bathroom design features for 2024?
2024's most popular bathroom trends include walk-in showers with seamless glass enclosures, matte black fixtures, integrated vanity lighting, eco-friendly materials, and bold tile patterns such as geometric mosaics. Clever storage and nature-inspired palettes remain key for modern and classic room ideas alike.Do I need specific permits for a bathroom reno in the UK?
Yes. Any work involving structural modification, new plumbing, or electrical upgrades typically needs approval from your local building authority. Always confirm permit needs with your contractor or council before starting renovations to avoid violations or future fines.
People Also Ask
[[paa question 1]]
The answer to this commonly asked question provides insight into best practices and typical issues encountered in bathroom renovation, making it easier to plan your own remodel and avoid surprises along the way.
[[paa question 2]]
This frequently searched question addresses crucial topics such as budget, timeline, and the importance of expert advice in the bathroom reno process, ensuring homeowners know what to expect from start to finish.
[[paa question 3]]
Understanding this aspect of bathroom renovation helps clarify options for materials, fixtures and the advantages of working with professional installers for achieving a premium finish and long-lasting results.
[[paa question 4]]
This query highlights the latest trends in bathroom design and renovation, allowing property owners to make informed decisions about styles, layouts, and investments for their own dream bathroom transformation.
Key Takeaways from This Bathroom Renovation Guide
Detailed planning leads to smoother bathroom renovations
Understanding building regulations avoids legal trouble
Quality fixtures and fittings enhance value and function
Thinking About Renovating Your Bathroom?
Plan for each stage, from design to final checks
Follow a comprehensive bathroom renovation guide for best results
"Get reliable advice and expert support for your bathroom reno journey for long-lasting satisfaction."
Ready to Start Your Bathroom Renovation?
Call Plumbrite today on 07933830316 or email: sales@plumbrite.org.uk for a personalised assessment of your bathroom renovation needs. Plumbrite--Battlehill Road, Portadown, Craigavon.


Write A Comment