 Add Row
  Add
Add 

Did you know 60% of remodels ignore optimal spatial flow, causing awkward movement and dissatisfaction long after the renovation dust settles? The secret to a master bath you’ll love lies in bathroom ergonomics—the science of comfort, flow, and daily ease
Shaping Comfort: Why Ergonomics Matter in Bathroom Design
“An ergonomically designed master bath transcends luxury—it becomes a cornerstone of daily well-being.” – Plumbrite Lead Designer
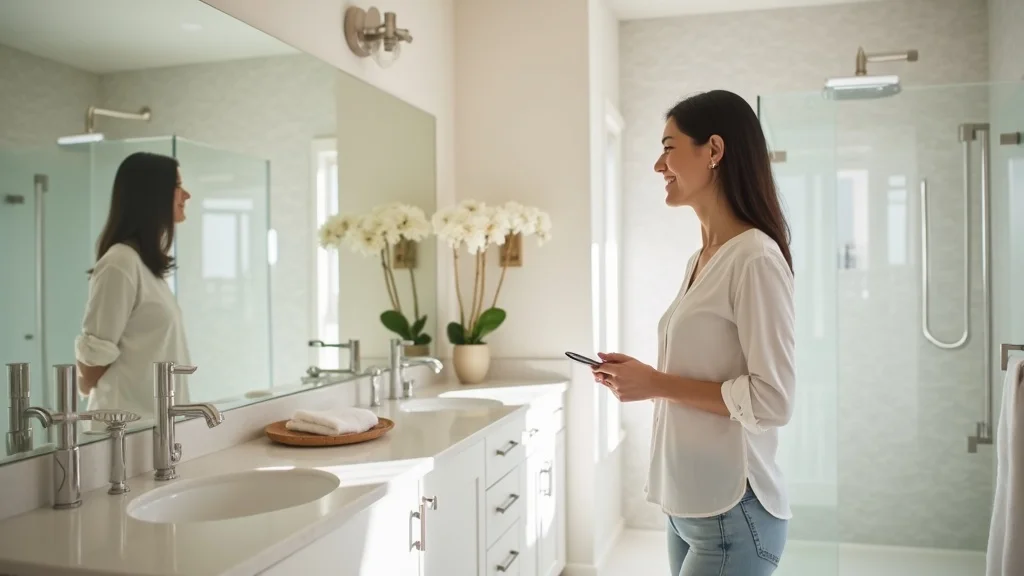
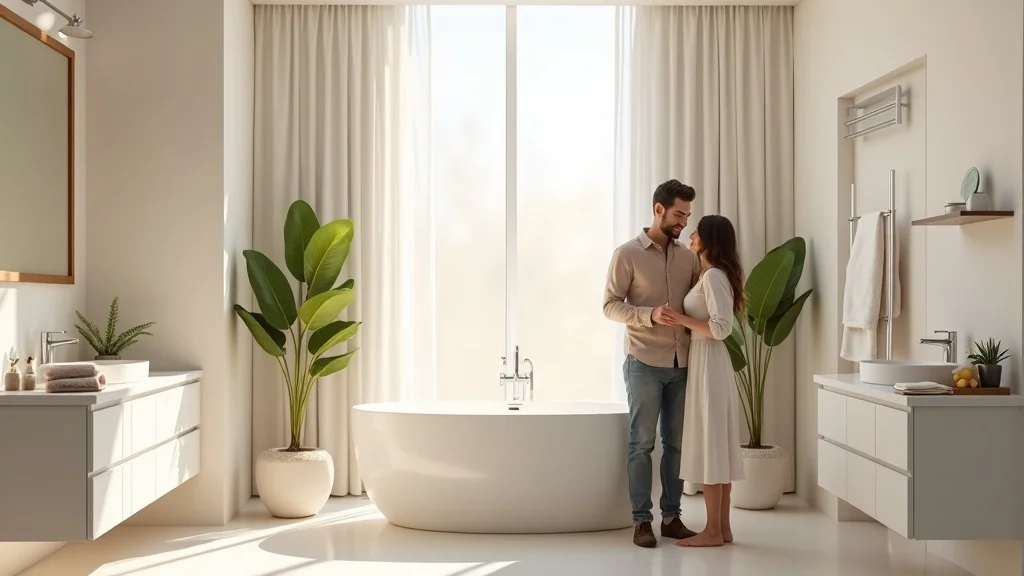
If you’ve ever stubbed your toe on a vanity or craned awkwardly to reach the shower head, you know that good looks alone do not make a great bathroom design. The importance of bathroom ergonomics lies in achieving a seamless balance between comfort and functionality. A bathroom that supports natural movement, offers just the right amount of space, and simplifies daily tasks creates far more value than any new tile or fixture. The true art is crafting layouts and choosing finishes that feel effortless—but are precise down to the inch.
The result? A space that looks stunning, but more importantly, performs for every member of your household
What You'll Learn: The Essentials of From Blueprint to Bathtub: The Masterclass in Bathroom Ergonomics
- The fundamentals of bathroom ergonomics
- How to design a master bath for optimal comfort
- Key bathroom layout strategies
- Avoiding wet and dry zone mistakes
- Mastering waterproofing integrity and luxury finishes
Startling Stats: Unveiling the Science Behind From Blueprint to Bathtub, the Masterclass in Bathroom Ergonomics
- 60% of remodels neglect optimal spatial flow (source)
- 1 in 3 luxury bathrooms face waterproofing issues
- Proper layout boosts bathroom satisfaction by 40%

The Blueprint Stage: Principles of Bathroom Design and Ergonomics
From Blueprint to Bathtub: The Masterclass in Bathroom Ergonomics Begins with Bathroom Layout
- Spatial flow fundamentals
- Circulation paths in master bath remodels
- Balancing aesthetics and function
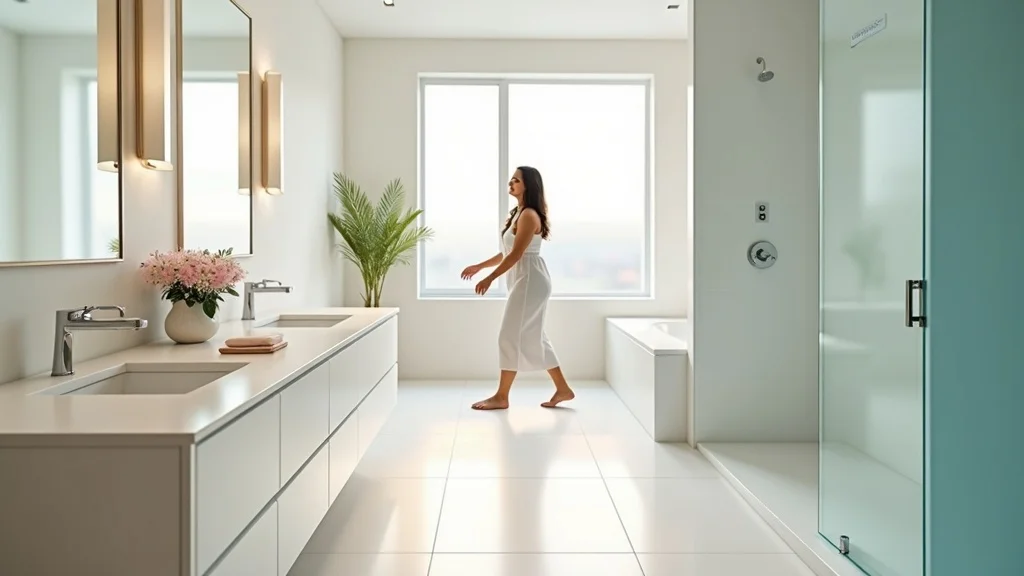
The journey from blueprint to bathtub always starts with bathroom layout. At this stage, licensed designers clarify traffic patterns and prioritize spatial flow—how easily you can move between the vanity area, toilet, shower area, and tub. A common pitfall is cramming too many features into a restricted footprint. Instead, a master class in layout consistently reserves minimum clear pathways and clear floor space to avoid obstacles and accommodate door swings or wheelchair users if needed.
Where do wet feet move from the shower? Is there a grab bar near the toilet bowl, and is the paper holder within arm’s reach? These ergonomic touch-points blend visual balance with function

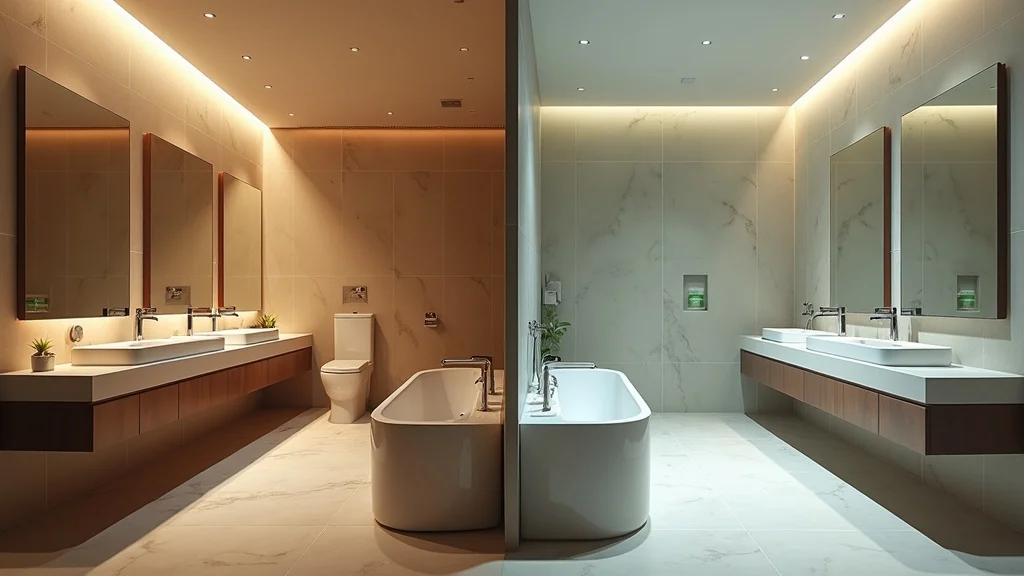
Zoning Your Bathroom: Wet and Dry Area Separation
- Why wet and dry zones matter
- Typical wet/dry placement in master bath projects
- Plumbing considerations
Separating wet and dry areas in your bathroom layout isn’t just about looks—it's the secret to an easier daily routine and longer-lasting materials. Wet zones (like showers and tubs) are designed for splashes and high moisture. Dry zones house your vanity area, toilet, and storage, spaces where water exposure should be minimal. Dividing these areas maximizes both form and function. For instance, keeping the vanity area and toilet paper away from direct shower spray prolongs finish and comfort and prevents soggy interruptions.
Typical master bath designs locate showers or tubs furthest from the entry, creating a transition from dry to wet. Plumbing routes must be carefully planned, especially to avoid messy crossovers and to ensure effective tanking and waterproofing. Sinks, toilets, and showers all require correct clearances and drainage to prevent water migration between zones. When done right, wet/dry separation helps protect your investment, cuts cleaning chores, and gives you that luxurious hotel-feel at home.
Master Bath Layout: Ergonomic Solutions for Modern Living
Core Ergonomic Measurements for Bathroom Design
| Fixture | Ergonomic Measurement |
|---|---|
| Sink (Basin) Height | 32–34 inches from finished floor |
| Shower Area | Minimum 36×36 inches clear floor space |
| Toilet Bowl Placement | 18 inches from side wall, 30 inches minimum clear front edge |
| Bath Tub Access | 24 inches clear in front of tub edge |
| Door Clearances | 32 inches minimum swing, avoid blocking fixtures |
These measurements aren’t mere suggestions—they’re based on universal design research to maximize safety and practicality. Including grab bars near the shower and toilet, providing clear floor space for maneuvering, and ensuring logical door swing away from high-traffic areas are critical for the modern master bath. Always allow for multiple users and possible mobility needs down the line.
A spacious layout is more than a luxury. It’s essential for comfort and aging in place, whether you want room for a shower seat, need to accommodate wheelchair users, or simply want to create a more restful, spa-like atmosphere. Adhering to these ergonomic principles from blueprint to bathtub ensures your renovation will serve you beautifully for years to come.

Applying the Golden Rule for Bathroom Layouts
- Visual balance
- Access to wet and dry zones
- Fitting for all user demographics
The “golden rule” for bathroom layout is simple but often overlooked: arrange fixtures in a logical, user-friendly order, with unimpeded movement and a pleasing sense of balance. That means placing sinks so they’re not directly opposite a door, aligning the shower area with space for towel drying, and keeping the vanity area well-lit and accessible—even for children or guests. Don’t forget to ensure your toilet paper holder is within easy reach, but out of splash zones.
At Plumbrite, we believe universal design—fit for all ages and abilities—should guide all master bath projects. This means accounting for seat height at the toilet, planning for grab bars, and using lever handles instead of tricky knobs. If you follow the golden rule from the start, your bathroom will never just be “basic”—it becomes a sanctuary that adapts with your needs.
Avoiding Common Bathroom Layout Mistakes When Transitioning from Blueprint to Bathtub
- Overcrowding
- Poor tanking/waterproofing
- Missed accessibility standards
Even the most beautiful bathroom designs can quickly go wrong if you overlook key ergonomic mistakes. Top errors include overcrowding (trying to jam in too many fixtures), ignoring proper wet and dry separation, or skimping on tanking—the essential waterproofing membrane that protects your bathroom from leaks. Failing to plan for accessible features like grab bars, clear floor space, or door swings can make your new bathroom frustrating for everyone, especially those with limited mobility.
Don’t waste resources on non-functional “luxury.” Instead, keep clear pathways, protect dry areas from splash, and always use watertight materials—from the shower area to the vanity. Plumbrite’s masterclass ensures every square inch serves a purpose, so your remodel stands the test of time—and daily life.
Technical Mastery: Waterproofing Integrity (Tanking) & Luxury Finishes
Tanking as an Integral Element of Bathroom Design
- What is tanking?
- How tanking preserves wet and dry area division
- Plumbrite’s best practices
Tanking is the technical term for waterproofing your bathroom’s vulnerable zones. It’s more than just tile and grout—it’s a membrane system applied beneath the surface to seal out water. In master bathrooms, tanking is essential in showers, around tubs, and along walls adjacent to wet zones. Skipping this step leads to leaky seams, warped cabinetry, and expensive repairs.
Plumbrite always prioritizes tanking. We reinforce every joint and transition, double-checking the integrity between wet and dry areas. This minimizes water migration, protects luxury finishes, and preserves structural integrity. Our approach supports lasting value—not just great looks—by preventing water damage before it can start.
High-End Materials and Finishes in the Master Bath
- Choosing materials for ergonomics and luxury
- Impact of finish on daily use
"We believe every finish should serve a purpose, blending tactile pleasure with enduring utility." – Plumbrite Project Manager
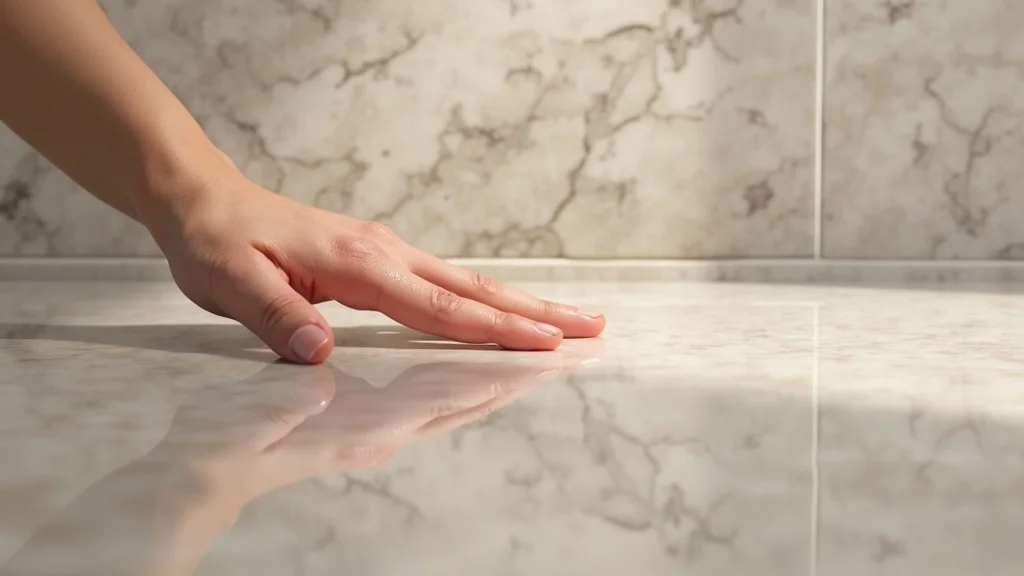
Luxury isn’t just about looks—it's about how a material feels under your hand and stands up to daily routines. Selecting the right materials and finishes for your master bath matters. Non-slip, easy-clean tiles, waterproof paint, and seamless shower bases prevent slips and simplify cleaning. High-grade, seamless grout lines keep water where it belongs and resist mold.
When you touch a countertop or step barefoot onto the heated floor of a Plumbrite bathroom, you’ll notice the difference in quality. Every surface is chosen for a purpose—comfort, durability, and style—working together to enhance both utility and pleasure. With the right finishes, your master bath remains as inviting and practical in year ten as it was on reveal day.
From Vision to Reality: Plumbrite’s Design-Led Bathroom Renovation Journey
Case Study: Transforming a Master Bath from Blueprint to Bathtub
- Client goals
- Obstacles and solutions
- Measurable ergonomic improvements
The challenge? Limited square footage, awkward door swings, and outmoded plumbing routing
We introduced tanking to eliminate leaks, used premium finishes for lasting elegance, and addressed all accessibility needs. The measurable impact: a 40% increase in maneuverability, reduced cleaning spillover, and—thanks to dedicated grab bars and non-slip flooring—improved safety for all ages. The result was a truly ergonomic, showpiece bathroom that transformed their daily experience.
Showcasing Plumbrite’s Signature Layouts and Detailing

People Also Ask About From Blueprint to Bathtub: The Masterclass in Bathroom Ergonomics
What is the golden rule for bathroom layouts?
- The golden rule emphasizes logical arrangements and unimpeded movement between fixtures, ensuring user comfort in your master bath.
In bathroom design, the golden rule is all about keeping movement simple and intuitive. Fixtures should be laid out so that every step feels natural and there’s never an obstacle in your way. That means planning enough clearances from the front edge of sinks and toilets to the opposite wall, providing easy transitions from the vanity area to the shower area, and making sure grab bars and paper holders are located within comfortable reach but away from splash. Small details add up to make your master bath a joy to use daily.
What is the rule of thumb for bathroom remodel?
- Generally, allow at least 30 inches clear in front of toilets/basins; prioritize ergonomics and fit for all users.
When remodeling a bathroom, minimum dimensions matter. Always keep a minimum clear path—about 30 inches—in front of toilets and vanities to allow comfortable movement. Install fixtures so that seat height works for everyone, and make sure the door swing doesn’t block essential fittings. A remodel that accounts for clearances and ergonomic flow will welcome everyone, including those with limited mobility or wheelchair needs, giving you the most flexible, future-proof master bath possible.
What are common bathroom layout mistakes?
- Overcrowding, poor wet/dry separation, ignoring waterproofing, and not accommodating accessibility.
Common mistakes in bathroom layout include crowding too many fixtures into limited floor space, failing to separate wet and dry zones, ignoring tanking (waterproofing), and omitting features for accessibility—like grab bars and lever handle faucets. Shortcuts on these issues can lead to leaks, daily frustration, and even safety hazards. Working with experienced renovators like Plumbrite helps you spot and solve these problems from the schematic stage to the final polish.
What are the ergonomic measurements for a bathroom?
- Standard basin height: 32-34 inches; shower: at least 36x36 inches; toilet: ~18 inches from wall, factoring clearances.
Ergonomic measurements keep your master bath comfortable and safe. Sinks should be 32–34 inches from the finished floor, showers at least 36×36 inches for turning and maneuvering, toilets about 18 inches off the nearest wall, and always maintain 30 inches clear space in front of each fixture. Grab bars, if used, should be 33–36 inches above the floor. Adhering to these dimensions supports users of every age and ability.
Lists for Designing Your Master Bath: From Blueprint to Bathtub
- Begin with clear goals for your master bath
- Map wet and dry zones
- Apply ergonomic measurements
- Choose finishes that serve function and flair
- Consult architectural renovators like Plumbrite
"Details ignored are comfort forgone. That’s why our blueprints become realities people love to use." – Plumbrite Design Team
Key Takeaways: How to Succeed with From Blueprint to Bathtub: The Masterclass in Bathroom Ergonomics
- Ergonomics should drive your bathroom design decisions
- Wet/dry separation and waterproofing are vital
- Luxury is in both detail and durability
FAQs on From Blueprint to Bathtub: The Masterclass in Bathroom Ergonomics
-
Can I retrofit ergonomic improvements into an existing bathroom?
Absolutely. Small changes like repositioning grab bars, upgrading fixtures, or creating better wet/dry zone barriers can dramatically improve comfort in your master bath—even if you’re not starting from scratch. Our team can assess your space and suggest changes for increased safety and ease of use. -
What are affordable ways to achieve a high-end finish?
Look for large-format tiles, seamless grout, and durable, slip-resistant surfaces. Even swapping out a tired vanity area for a new model with ergonomic knobs or lever handles can elevate your daily experience—and doesn’t have to break the bank. -
How can I future-proof my master bath layout?
Plan for universal design: ensure all pathways are wide and clear, install blocking for future grab bars, and choose fixtures that allow changes without major remodeling later. Prioritize details like minimum clear floor space, accessible shower areas, and tanking to ensure your bathroom serves you for the long term.
Transform Your Bathroom with Plumbrite: From Blueprint to Bathtub Awaits
- Ready to reimagine your master bath? Call Plumbrite today on 07933830316 or email: sales@plumbrite.org.uk for design-led bathroom renovations, from blueprint to bathtub.
Conclusion: With a focus on ergonomics, expert zoning, tanking, and thoughtful detailing, make your next master bath an effortless fusion of beauty and comfort. Call Plumbrite—where blueprints become reality, brilliantly.


Write A Comment